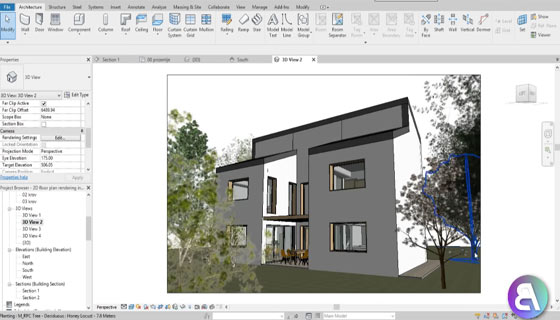
In this revit tutorial, you will learn how to produce a rendered 2D floor plan in Revit.
Generally, a regular floor plan is taken from AutoCAD and imported in photoshop. In photoshop, the surfaces are chosen and transformed to some material textures to provide the appearance of a rendering.
~~~~~~~~~~~~~~~~~~~~~~~~
Published By
Rajib Dey
www.bimoutsourcing.com
~~~~~~~~~~~~~~~~~~~~~~~~
Generally, a regular floor plan is taken from AutoCAD and imported in photoshop. In photoshop, the surfaces are chosen and transformed to some material textures to provide the appearance of a rendering.
In revit this process can be done more efficiently.
The following revit shortcuts are used to complete the tutorial.
GR - Grid
RE - Scale
EL - Elevation
VR - View Range
CL - Structural Column
MM - Mirror (pick axis)
- Mirror (draw axis)
UN - Project Units
WA - Wall
CS - Create Similar
RP - Reference Plane
- Align
SL - Split Element
OF - Offset
TR - Trim/Extend
RE - Scale
EL - Elevation
VR - View Range
CL - Structural Column
MM - Mirror (pick axis)
- Mirror (draw axis)
UN - Project Units
WA - Wall
CS - Create Similar
RP - Reference Plane
- Align
SL - Split Element
OF - Offset
TR - Trim/Extend
AR - Array
CO - Copy
TX - Text
LI - Model Lines
DL - Detail LInes
RR - Render
RY - Ray Trace
GD - Graphic Display Options
TL - Thin Lines
GP - Group
LG - Project form Group
CO - Copy
TX - Text
LI - Model Lines
DL - Detail LInes
RR - Render
RY - Ray Trace
GD - Graphic Display Options
TL - Thin Lines
GP - Group
LG - Project form Group
To learn the detail process in the tutorial, go through the following video.
~~~~~~~~~~~~~~~~~~~~~~~~
Published By
Rajib Dey
www.bimoutsourcing.com
~~~~~~~~~~~~~~~~~~~~~~~~
for best service click hereMEP F modelling in USA
ReplyDeletethanks for sharing information......
ReplyDeleteMEP F modelling
MEP F modelling in USA
MEP F modelling in UK
MEP F modelling in India