adsense analytic

Tuesday, April 4, 2017

Learn To Create Roofs By Footprint & Join Complex Roof In Revit 2017

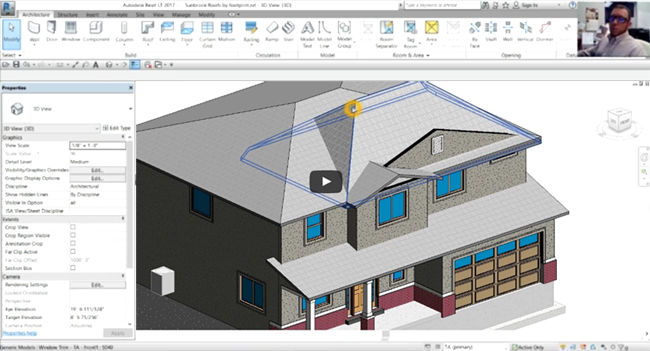
There are different methods in Revit for creating roofs. The easiest one is the footprint roof. A footprint roof is ideal for generating floors. Just select sketchup mode and draw the shape of the roof. Once it is completed, it produces the 3D form easily finished with any slope that is allowed by you.

Initially choose, high roof floor plan. Then go to Architecture tab and click roof button. Here default is roof by footprint. Alternatively, you can go through the dropdown menu and select roof by footprint.

It is possible to place three types of roofs by applying footprint which range from a flat roof, a gable roof and a hip roof.


Learn to create roofs by footprint & join complex roof in Revit 2017

~~~~~~~~~~~~~~~~~~~~~~~~
Published By
Rajib Dey
www.bimoutsourcing.com

~~~~~~~~~~~~~~~~~~~~~~~~

Monday, April 3, 2017

QuickStart Video On Revit Section Box

This QuickStart Revit video provides brief demonstration on how to apply in-built section box tool in Revit for rendering section cuts. Section Box is actually a productive tool that facilitates to get entry to the centre of the model.

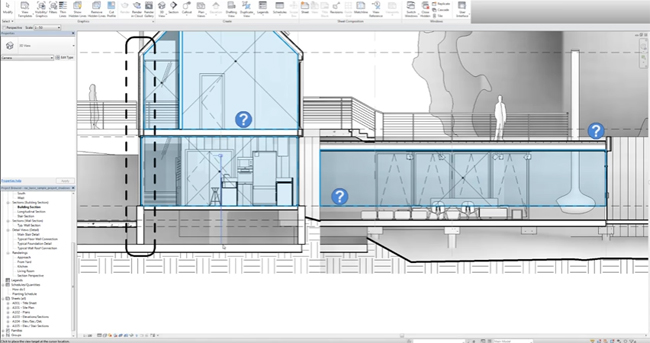
You can use a section box to clip the viewable portion of a 3D view. When you enable a section box in a 3D view, the only change to the view is the addition of the section box. The following image shows a 3D view with a section box enabled.

Once the section box is enabled, its extents can be changed with drag controls in the 3D view or from other views.


QuickStart Video on Revit Section Box


~~~~~~~~~~~~~~~~~~~~~~~~
Published By
Rajib Dey
www.bimoutsourcing.com

~~~~~~~~~~~~~~~~~~~~~~~~
Saturday, April 1, 2017

How To Produce Solar/Shadow Studies With Revit

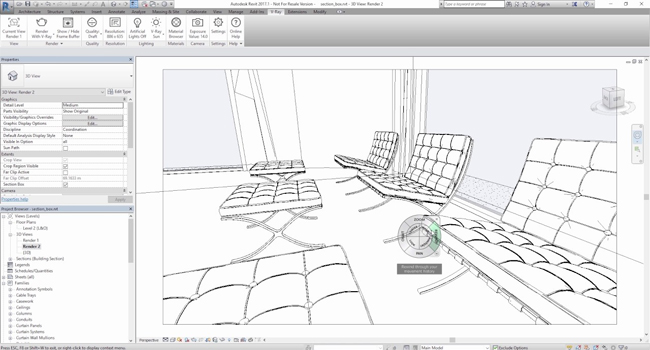
Prior to start a solar study, organize a view to show light and shadows. Apply the following useful tips :-
• Generate a 3D view.
To show light and shadows efficiently on a project, apply 3D views of the building model. Show standard plan views like floor plans and ceiling plans, abstain from demonstrating various elements in 3D, therefore, there will be no shadows to be casted from these elements.
The sun path and shadows can be accessed in all 3D views devoid of those applying the Wireframe or Consistent Colors visual style. In 2D views, the sun path can be accessed in floor plans, reflected ceiling plans, elevations, and sections.

Note: The sun path’s on-screen controls can’t be edited in perspective, walkthrough, or rendered 3D views.
• Rotate a view to True North to perfectly demonstrate the position of the sun concerning the project through solar study.
• While creating a lighting solar study, state the location of the sun corresponding to the view.
Source: knowledge.autodesk.com


How to produce solar/shadow studies with Revit

~~~~~~~~~~~~~~~~~~~~~~~~
Published By
Rajib Dey
www.bimoutsourcing.com
~~~~~~~~~~~~~~~~~~~~~~~~